Ok…haven’t done many new gardening blog posts in a while as I’ve covered most everything I do at some point over the past decade. I’ve refined my tomato planting techniques a bit this year and decided to do a tutorial on how I grow tomatoes in my Kansas City backyard.
I’m a firm believer in using compost to fill my raised beds. I do not use manures or topsoil as these are sometimes a crapshoot (pun intended) and can lead to more problems than they ever help solve. Good FULLY composted yard waste from a local source is your best soil builder always. When starting a new bed I mix 8 parts of compost with 1 part peat, one part perlite, and one part vermiculite by the shovel full and have had excellent results for many years with this mix. I top dress the beds each year with a wheelbarrow or two of straight compost and lightly till it in to the existing soil. Never step foot in your beds as this compacts the soil.
My wooden raised beds are 4 foot wide, 12 inches tall and have various lengths. I use copper treated lumber and found these to last about 8-10 years before they need additional support or complete replacement. I am now replacing these old wooden beds with galvanized metal beds that are absolutely beautiful and built to last much longer than my lifetime. I have 5 of them now and will be adding a bed or two to the garden each year as I can afford it. They are very expensive, but are well worth the money. They go together easily with a couple of wrenches. If you’re looking to make an excellent investment in your garden…I highly recommend them!
Ok…on to the tomato planting! You must mulch your tomato plants in some form. Straw works well. Grass clippings are ok. I prefer plastic silver reflective mulch film for many reasons. Plastic does an excellent job of retaining moisture and eliminating weeds. Plastic also allows you to control your watering with drip irrigation. When we have heavy thunderstorms, the excess water runs off of the plastic and keeps you from having split fruit problems when the plant takes up too much water. The most important thing the silver film does is bounce light under the leaves of your plants. This keeps aphids and hornworms from having a shady place to hide! I’ve NEVER had a hornworm (knock on wood) since using this silver film! Bonus effect of using the silver film is that you can see your garden from space! The next time Google Earth updates their pictures, your gardens will shine from the heavens!
I start by laying the silver film over my entire bed and anchoring it at each end to hold it in place

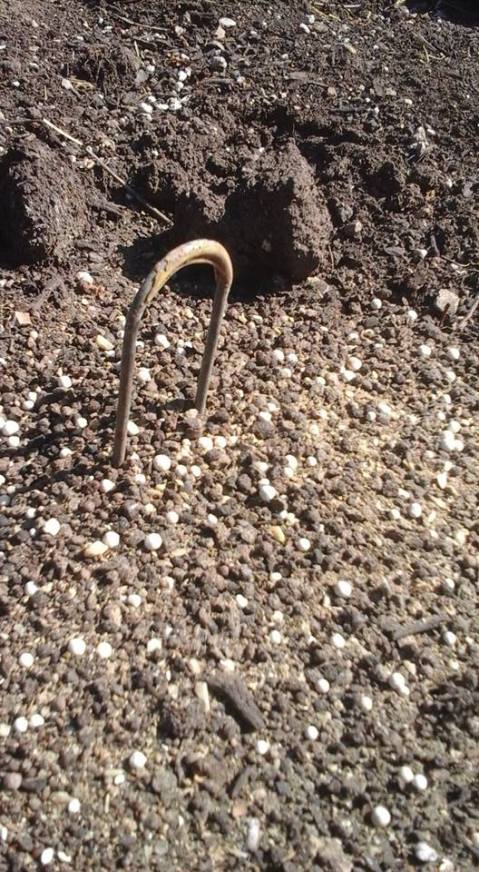
I use a box cutter to cut an X over the spot I want each plant to go. Space your plants 3 feet apart to ensure they have plenty of room for air circulation and are not competing with each other for soil nutrients. I then insert a garden staple to mark the location of the center of the X so I know where to put my plant.
I then remove the film and add about two big handfuls of Tomato Tone fertilizer to the spot where I am going to plant This will get mixed into the soil as you dig your hole.
Your tomato plant needs to be planted DEEPLY! Pinch off any of the leaves below the growing tip and bury the plant with just the top leaves sticking out of the ground. Use your fingers to do this instead of scissors as this closes the wound better. the pic on the left shows a Carbon plant before pruning. The pic on the right is after I have pinched off the lower leaves.


We have cutworms in the area. If you haven’t had problems with them yet…you will at some point. The cutworm is a grub that lives underground during the day and roams the surface of the soil at night looking for tomato plants to eat. When they find your plant, they wrap their bodies around it and chop it down like a lumberjack! Then they crawl off, burrow underground and sleep off their delicious meal. To prevent this from happening, you need to use a cutworm collar. I have had great results using the cups I grow my plants in as the collar. Just cut off the bottom of the cup with some scissors and slide it over the plant as you put it in the ground. When the cutworm crawls around, he hits your cup edge, then goes around it looking for something else. He won’t climb up into it…they are not good climbers.


Dig your hole deep enough to bury the plant up to the level above where you pruned. Mix the fertilizer in the soil as you dig. Slide that collar over the plant and fill the cup and the surrounding hole with soil.
Water your plants in VERY WELL right after planting. Use a watering can or a hose turned on slowly to allow at least a gallon or more of water to soak into the soil around each plant. This helps to reduce transplant shock. Make sure none of the leaves are touching the soil. Water your plants once every 7-10 days after that and throughout the summer. Watering more than this can cause your plant to be more susceptible to diseases and will make for watery tasting fruit.
I prefer to use drip irrigation to water my plants. I have 4 rain barrels attached to the gutters of my house which provides me with 200 gallons of chlorine free, warm water to deliver to my plants. I use soaker dripline with emitters spaced every 9 inches and lay two lines of this next to my plants.

After the plants are watered in well and my dripline is installed, I cover the whole bed with the film making sure none of the plant leaves touch the plastic.

After the film is installed, I put my cages over the top of it. I use concrete reinforcing wire cages and a T-stake and zip ties as one method, but I far prefer the Texas Tomato Cages! These again are very pricey, but will last forever and are very easy to install. Purchase the medium sized ones, not the large. They have built in stake feet that slide right through the film and into the soil. They also fold flat for easy storage after tomato season is done.

Well…there you have it Now get out there and plant those tomatoes!
